Preface
These guides are not done! Not remotely!
Welcome to CS at Reed! You'll be doing a lot of computer touching during your time here, and we wanted to put together some resources to make this as pleasant an experience as it can possibly be.
There are very many bits and pieces of software that you'll want to pick up and get used to along the way, but the vast majority of these tools can be unintuitive and frustrating. Here, we've collated a lot of words to hopefully make that experience easier.
This site covers a few core topics with copy-pastable snippets and explanations for reference, but if something isn't here, or if you just want some more information on anything, there are some really good resources on the broader internet. If you've got questions about how anything techy works, you might want to consult:
- Julia Evans! She's really good at writing zines.
- Anna Ritz (biology) directs her students to this command line bootcamp for a thorough, interactive guide to day-to-day terminal tasks.
- The Pro Git book provides a good, methodical explanation of Git.
- Zero to Nix describes the Nix package manager, a popular package manager for students here to use that's also installed on all of the Reednet machines.
- man pages :(
As a final introductory note, don't be afraid to ask for help. A lot of computer-touching knowledge is really just experience. The more times you see something, the more likely it'll be to click.
Also, if you have questions, yell at us! Issues pertaining to this guide can be sent to GitHub issues, and, along with more general questions, can be emailed to us.
If you want to help us write guides, let us know! If you're familiar with git, we also accept contributions through the guides repository.
Using a computer is like Hollow Knight. Sometimes you just have to lock in.
— Dylan Matthisen
Shell
The shell is how most people use the command line or terminal on their computes. It's a really bare-bones interface to your computer, and it can feel obtuse or archaic at times. Unfortunately, it's also a very powerful tool that's certainly worth taking the time to learn.
The first step to doing so, then, is accessing your shell! Go on to installation.
Installation
You might already have a shell installed.
-
If your computer is running Linux, you almost certainly have a shell called Bash installed on your computer already. See the Linux section for instructions on how to access it.
-
If you're running MacOS, you've already got a shell called
zsh. See here to learn how to access it. -
If your computer runs Windows, you'll want to install the Windows Subsystem for Linux (WSL). See here.
Once you've got a shell installed, you'll be able to open your terminal and do something like this:
$ echo "Hello, world!"
Hello, world!
Linux
You've probably got an app called "Terminal" installed. Look for it in your launcher. You'll get an interface like this:
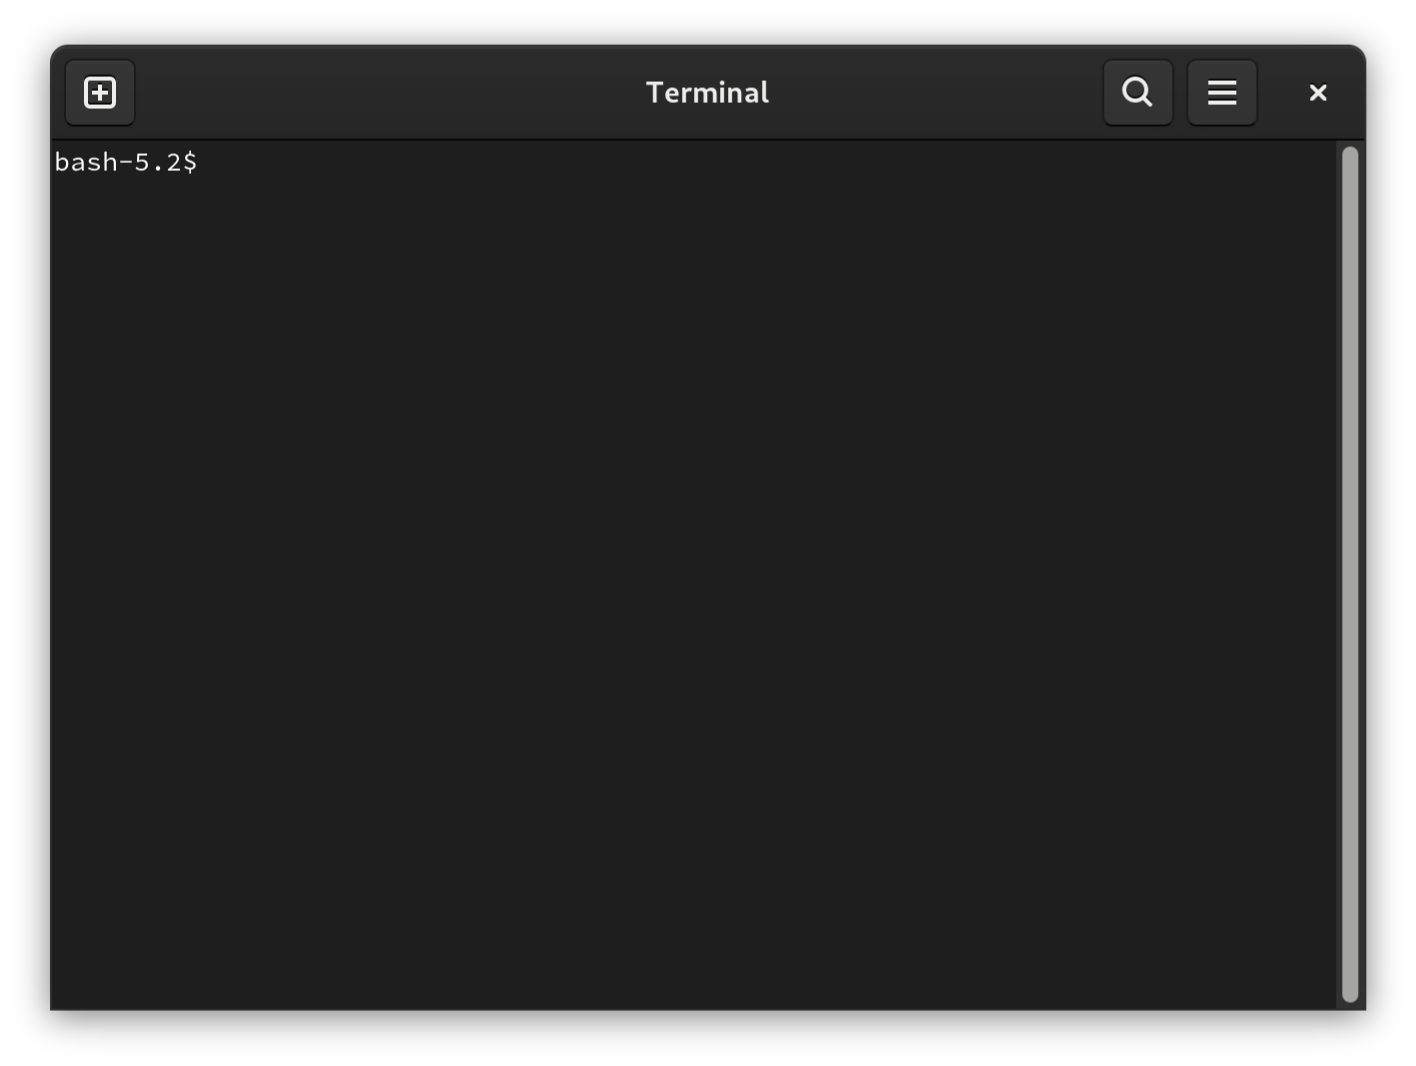
You can type and run shell commands at this prompt:
That's all there is here! Go to learn the basics.
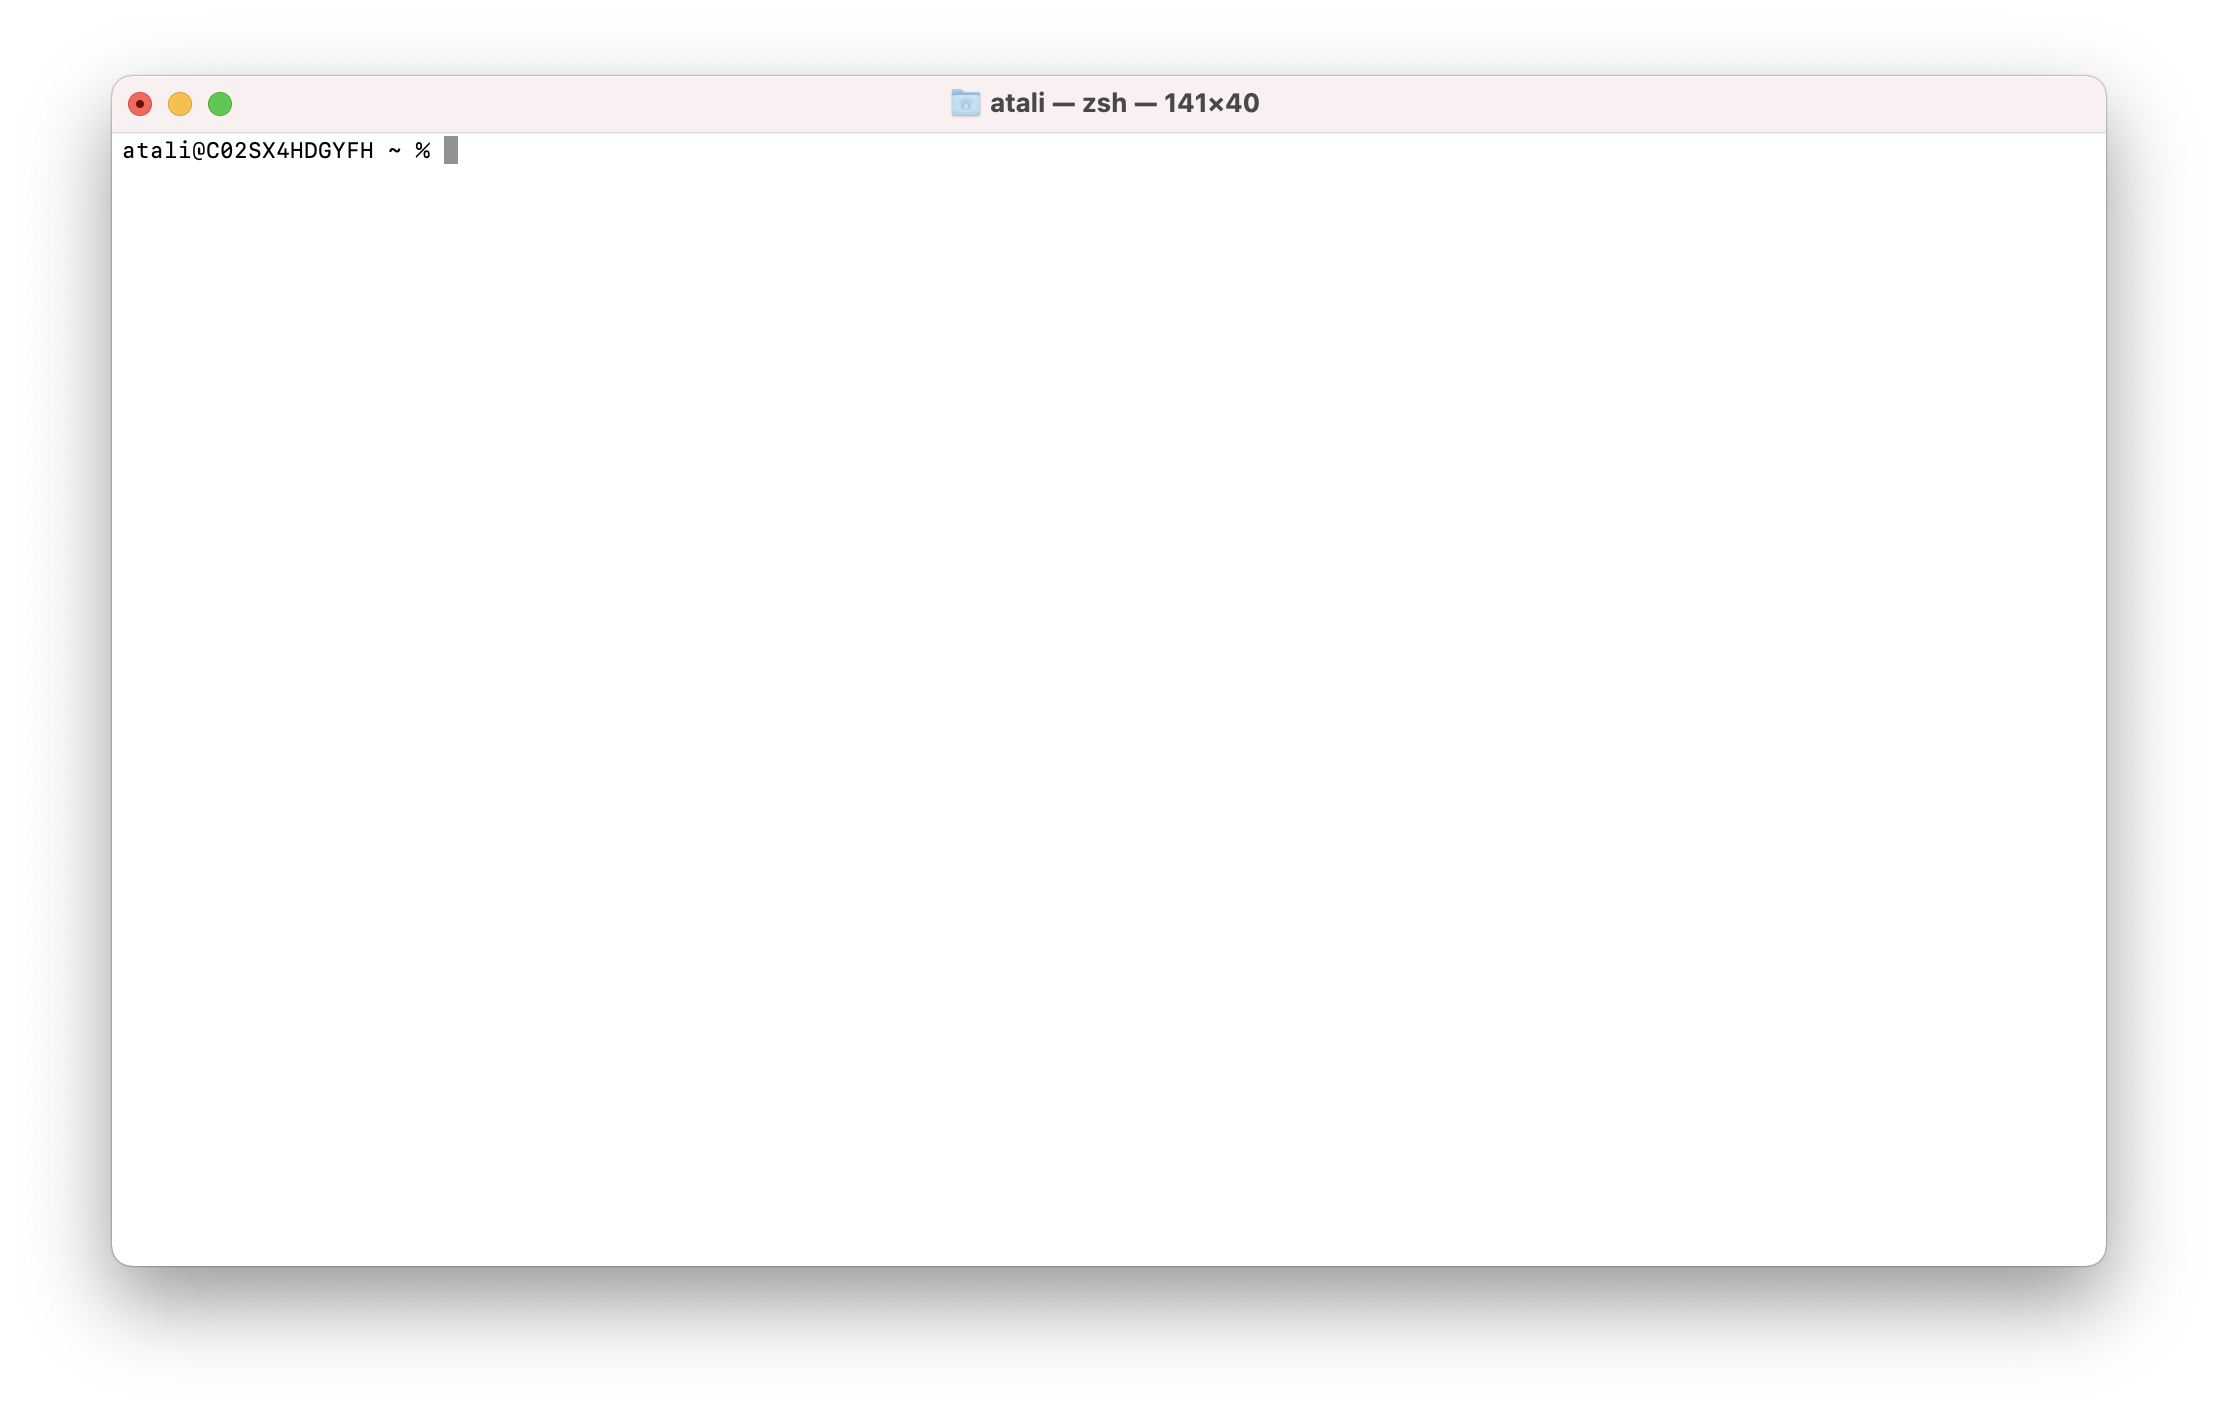
MacOS
You've already got a terminal: Press ⌘+SPACE to open Spotlight, and
type terminal to open the terminal. You'll see something that looks something
like this:
Where other operating systems use a shell called Bash, MacOS uses zsh by default. For our purposes here, these shells work mostly the same way, but parts of this guide (especially the scripting section) refer to Bash instead of zsh. This is unlikely to ever be important, but it's something to keep in mind.
Basics
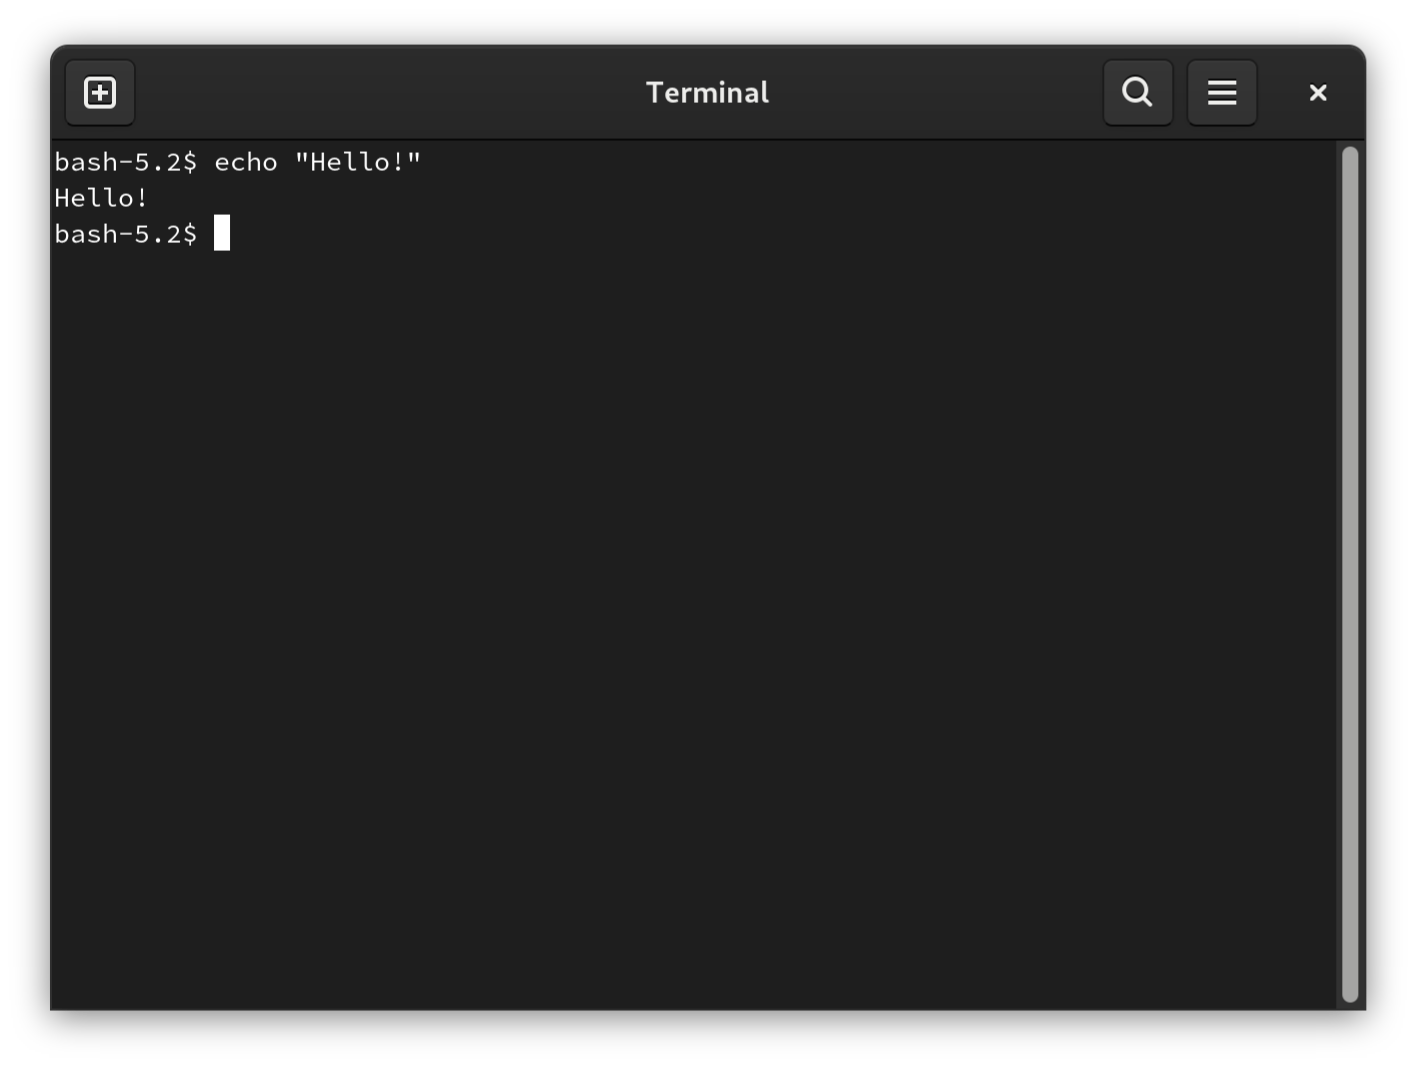
The shell operates under some fairly foreign principles when compared to the rest of the software you might use on a daily basis. It doesn't work how you expect — Ctrl+C doesn't copy and Ctrl+V doesn't paste, for instance — but it's got plenty of conventions that are carried through into other tools you might end up using, so it's worth taking the time to play around a bit. Try entering this into your shell:
$ echo "Hello!"
Hello!
note
Only type the text after the $. Then, press enter, and you should see the
same output on your screen as you see in the text above.
The $ here represents your prompt. It might look a little different in
your terminal, but many default prompts end in a $, so that's the character most
commonly used to represent it in documentation.
echo simply repeats whatever you give it. Despite what it looks like, there's
actually a lot going on here. Try the next two commands:
$ echo "Hello," "world!"
Hello, world!
$ echo "Hello, world!"
Hello, world!
These two commands are different, but they produce the same result. This comes
down to two very important concepts in the shell that you'll come into contact with
again and again: commands and arguments. In the above, we can say that
you ran the command echo "Hello!", but we can also say that the command
you ran was echo, and the argument was Hello!. This is the difference
between echo "Hello," "world!" and echo "Hello, world!". The first has just
two arguments, and the second has just one. The command echo just happens to
display all of its arguments together, putting a space in between them.
By the way, the quotes are strictly optional. All of the commands below have the same output. Try them!
$ echo "Hello," "world!"
Hello, world!
$ echo Hello, "world!"
Hello, world!
$ echo "Hello, world!"
Hello, world!
$ echo Hello, world!
Hello, world!
Even though these are all the same, it's generally considered good practice to quote arguments. To see why this is, try this command, and guess what the output might be:
$ echo Sorry. All the microchips are gone. I got #hungry.
You'll notice that the final #hungry doesn't display! What's going on here? It
turns out that the shell treats everything in a line after the # character to be a
comment: It's entirely ignored. You can use this to write out prose descriptions
of what your commands do:
$ echo "Hello" # Print a greeting to the display.
This command has three parts: There's the command itself (echo), the argument
(Hello), and the comment (everything after the #). What if you really want
to echo a #, though? Quoting will help you here:
$ echo "Sorry. All the microchips are gone. I got #hungry."
Sorry. All the microchips are gone. I got #hungry.
These ideas of arguments, comments, and commands make up very much of the
command line that you'll be interacting with, but you'll be using some more
commands than just echo. Go on to navigation for some
more useful techniques.
Navigation
You're probably used to files and folders as they show up on your desktop. You can drag them around, put them in other folders, and so forth. As it turns out, the command line gives you access to the exact same thing.
The simplest command that interacts with your files is pwd. This stands for
"print working directory," and if you run it, you'll see your current working
directory:
$ pwd
/home/user
note
Your output may be different if you're on MacOS, but it should have a similar form.
This is a very important concept: Every shell always has a working
directory and you can always check what it is with pwd. A working directory
is itself not too strange a concept: If you open up your files app, you'll see
you're looking at some files. You can click on a directory to see the files and
folders in that folder, and keep going however long you'd like. It's the same
thing here. To see everything that's in your current directory, run ls:
$ ls
Desktop Documents Downloads go Mail Music Pictures Public Templates Videos
note
This is just some possible output. You might have some or none of these folders on your own computer.
Just like in your GUI files app,
you can change your working directory. To do so, use the cd command:
$ cd Documents
You'll notice that nothing happened. However, run pwd again and you'll see
you're somewhere else:
$ pwd
/home/<your-username>/Documents
As before, you can run ls to see all your documents:
$ ls
essay.txt cstar-guide.html shoelaces.pdf
note
Again, this is just example output. Yours is (presumably!) not quite the same.
The so-called parent directory of your working directory is referred to with
... This means that after you cd into Documents, you can get out just as
easily:
$ pwd
/home/<your-username>/Documents
$ cd ..
$ pwd
/home/<your-username>
$ cd Documents
$ pwd
/home/<your-username>/Documents
ls is a command you'll be using a lot, so it's worth spending a little bit of
time on it. Just like with echo, ls can take arguments. Try using the -l
argument for a long listing:
$ ls -l
-rw-r--r--. 1 user group    0 Jan 24 12:13  essay.txt
-rw-r--r--. 1 user group   45 Jan 28 19:00  cstar-guide.html
-rw-r--r--. 1 user group 100M Jul 22  2024  shoelaces.pdf
note
An argument that begins with a - is usually called a flag.
Reading the output right-to-left, you'll see that we have the filenames just as
before. Then, we have the time the files were last modified, preceded by their
size. In this example, essay.txt is entirely empty. cstar-guide.html takes
up 45 bytes of space, and the M in the 100M taken by shoelaces.pdf stands for
megabytes. We'll come back to the rest of the output later, in the section on
file permissions.
The echo command can actually be used to create files. Try, for instance, the
following:
warning
Make sure you don't already have a file named a.txt in your current
working directory. This command will overwrite that file!
$ echo "Hello!" > a.txt
This > is called a redirect, and takes the output of the command (which would
normally just be "Hello!") and writes it to a file instead.
Now, if you run ls again, you'll see the same output as before, with one
addition:
$ ls
a.txt essay.txt cstar-guide.html shoelaces.pdf
Now that you have that file saved to your disk, the cat command will let you
see the contents:
$ cat a.txt
Hello!
The greatest sin of the command line environment is that cat has nothing to do
with actual cats, and instead is an abbreviation of concatenate. You can pass
two or more filenames as arguments to cat, and you'll be able to see them
both, one after the other:
$ echo "Goodbye!" > b.txt
$ cat a.txt b.txt
Hello!
Goodbye!
Redirections work on every command, cat included. Try this:
$ cat a.txt b.txt > c.txt
Now, c.txt has the same content as a.txt and b.txt combined, and if you
cat it, you'll see what you expect:
$ cat c.txt
Hello!
Goodbye!
By the way, you can't just cat any arbitrary file. Consider, for example,
shoelaces.pdf. This thing is 100M, and, being a PDF, it probably has all sorts
of information about formatting, page size, and so forth that just isn't
expressed as plain text. It's usually inadvisable to cat these to your
terminal, unless of course you're redirecting the output to a file.
note
If you want, you can look for a binary file like an image or a PDF with ls
and cd. Then, cat it. You'll see a stream of nonsense pour over your
terminal window. Press Ctrl+C to interrupt the command. You
probably won't see your usual prompt anymore. Nevertheless, type reset and
press Enter. It'll take a couple seconds, but your shell will come
back just as before.
You probably want to get rid of a.txt, b.txt, and c.txt now. You can do
that from the command line as well:
$ rm a.txt b.txt c.txt
Maybe you want to look for any other .txt files just in case you missed some.
This can be achieved with a glob:
$ ls *.txt
essay.txt
note
Your output might be empty if you have no files that match this string. Try
playing around with other globs. For instance, *a* matches any file with an
a in the name.
Now that you know how to create and remove files, it's good to do the same for
directories. The mkdir command does the first:
$ mkdir test-directory
And rm does the second:
$ rm -r test-directory
Notice the -r flag. This causes a recursive removal. That is, you're not
just removing the directory you specify (here, that's test-directory), but
also all the files and folders inside. Be very careful with this command. Unlike
the normal files app, there's no trash can to restore from!
Now that you can make and remove files and folders, you've already mastered about half of the command line. Next up are some niceties in line editing.
Line Editing
As you might have noticed, using the command line can involve repeating yourself
a lot. The shell itself actually helps you avoid most of the manual repetition by
keeping track of your command history. You can see this for yourself:
There's a file in your home directory called .bash_history on Linux and WSL or
.zsh_history on MacOS which stores all the commands you've run in a given
terminal session.
Close your terminal window and open a new one. Then, look for this file:
$ ls -h
Because this filename starts with a ., your history file is actually a
hidden file, and you need the -h flag in ls to see it. Now, once you
know if you have .bash_history or .zsh_history, check what's in it:
$ cat .bash_history # or .zsh_history!
By the way, you almost certainly have some other hidden files in this directory.
Recall that the command for seeing those is ls -h, but you've already run it.
Press the up arrow to cycle through your previous commands. First you'll see
cat .bash_history, then ls -h. The shell will let you get through your entire
history this way! Play around with the command line a little bit. Scroll up,
modify a command, and run it. To modify a command, your normal keyboard
shortcuts won't all work. You can likely use the arrow keys to move your cursor
over the line, but there are some other, more shell-specific shortcuts that you
may want to use.
| Shortcut | Action |
|---|---|
| Ctrl+H | Delete the last character. |
| Ctrl+W | Delete the last word. |
| Ctrl+A | Go to the start of the line. |
| Ctrl+E | Go to the end of the line. |
| Ctrl+F | Go to the next character. |
| Ctrl+B | Go to the last character. |
| Alt+F | Go to the next word. |
| Alt+B | Go to the last word. |
| ↑ | Go to the previous (less recent) item in the history. |
| ↓ | Go to the next (more recent) item in the history. |
note
Most of these shortcuts are taken from a very old, decrepit piece of software called Emacs. You can see key bindings that look like this pretty much everywhere if you know where to look.
One last convenience: You can use Ctrl+R to search through your command history. You'll see something like this:
(reverse i-search)`':
Typing will match through your history in real time. You can use ↑ and ↓ to look through the matches, and edit the result just like normal.
File Permissions
We'll take another look at the output of ls -l:
$ ls -l
drwxr-xr-x. 1 user group 451M Jul 22  2024  Documents
-rw-r--r--. 1 user group    0 Jan 24 12:13  essay.txt
-rw-r--r--. 1 user group   45 Jan 28 19:00  cstar-guide.html
-rw-r--r--. 1 user group 100M Jul 22  2024  shoelaces.pdf
When you run this, you likely won't see user or group. Instead, you'll
likely see your computer username in that first column and something like it in
the next. These are the names of a user and of a group, respectively. In
all likelihood, these are the names of your user and your group.
The systems we're using — Linux, MacOS, or WSL on Windows — all descend from an operating system called UNIX, which achieved success in part due to its multi-user support. On our personal computers, we don't generally use multi-user features all that frequently or explicitly, but they're baked in to the computer so much that, in fact, every single file is owned by one of many users, and, simultaneously, one of many groups.
If you want to know what your user is called, you can always run whoami:
$ whoami
atalii
note
This is just my personal username. Yours will be different!
Similarly, groups can tell you what groups you're a member of:
$ groups
atalii wheel input
note
Again, this is just the output on my machine. You'll probably be a member of some different groups. You don't need to worry about what each one is for right now.
This is the basis for the UNIX permission model: Every file has three sets of permissions. First, the owning user can read the file, write the file, or execute the file. Then, a different set of permissions (one, none, or all of reading, writing, and executing) apply to a user who is not the owner but is in the owning group. Then, there's a third set of permissions for everyone else.
This is actually what you see in the leftmost column of the long listing. The
first letter (above, this is either - or d) indicates the kind of file this
is. - indicates that it's just a normal file, and d indicates it's a
directory. Then, there are three characters describing what the owning user can
do. The first of these three indicates whether or not the
owner can read the file (r if they can, - if they can't), the second (r or
-) indicates whether they can write to the file, and the third (x or -)
indicates whether or not they can execute this file. We have another group of
the same three that describe permissions for members of the owning group, and a
final group of three that describe permissions for everyone else.
If this feels a bit abstract, we can actually see these permissions working with
a few commands. You can create a file with the touch command:
$ touch perm-example.txt
note
This command has no output. One of the recurring themes in CLIs is that if
they don't complain, you're probably safe to assume that nothing's gone wrong.
You can run echo $? to see the exit code of the process, which will
always be 0 if it's successful.
Now, look at how perm-example.txt has been created:
$ ls -l perm-example.txt
-rw-r--r--. 1 atalii users 0 Feb  6 08:29 perm-example.txt
We can see that in this case, the owning user is atalii, and the owning group
is users. atalii has the rw- perms associated: They can read from and
write to the file. Anyone in the users group can read the file but do nothing
else, as indicated by r--. And, with the same r-- repeated, anyone outside
the owning group can only read the file.
Let's take a closer look at what exactly this all means. To be able to read from a file means you're allowed to look at the contents, which, in this case, are empty:
$ cat perm-example.txt
To be able to write to a file means you're able to modify its contents. Try this:
$ echo "I can write to this file!" >> perm-example.txt
note
Notice that we use >> here instead of > as we used previously. The
difference is that > will always overwrite a file, replacing the
contents with whatever it wants. By contrast, >> appends to the file,
leaving alone whatever was there previously.
Now, if you read it again, you'll see that line of text:
$ cat perm-example.txt
I can write to this file!
Execution may, unfortunately, be a bit more mistifying. We'll explore what it
means for a file to be executable in more detail when we talk about compiling
code or, in this chapter, writing scripts. For now, it's
enough to say that lots of the commands we've been using (cat, ls, touch,
and so forth) are actually files on disk just like everything else. Because we
can run them as commands, then, we know they're executable.
There's one last meaning to "executability" that should concern you, and that's
executability for directories. If you'll recall the example at the beginning, my
documents folder can be read, written, and executed by me, while it can only be
written and executed by anyone else. Here, execution does not actually mean
execution. Instead, it means that a user with executable permissions on the
directory can cd into it.
This permission system would only be so useful if you couldn't change
permissions. Fortunately, you can use the chmod command to change permissions.
While there's some more advanced usages we won't cover here, the basics are
good to know. Before we discuss exactly what this command does, try it out:
$ chmod ugo-r perm-example.txt
Now, if you try to read perm-example.txt, you should see an error:
$ cat perm-example.txt
cat: perm-example.txt: Permission denied
If you check perms with ls -l, you'll get a good idea of what that chmod
command did:
$ ls -l perm-example.txt
--w-------. 1 atalii atalii 0 Feb  6 08:29 perm-example.txt
You'll see that you only have write permissions to the file. You can actually test that if you'd like:
$ echo "test" > perm-example.txt
Remember, you don't have read permissions on this test file, so if you try to
cat it, you'll get that same error. Instead, you have to give yourself read
permissions:
$ chmod u+r perm-example.txt
$ cat perm-example.txt
test
Hopefully you can start guessing at what the arguments to chmod do. You can
give or take permissions with + or -. These permissions can be r, w, or
x. So, for instance, to give everyone executable permissions, you can run
chmod +x on a file. If you want only the owning user to get those
executable permissions, however, run chmod u+x. You can put any combination of
r, w, or x on the right hand side, and any combination of u, g, or o
on the left hand side, for the owning user, the owning group, or
other users.
chmod can be run on a file by the owning user, but it can also be run on
any file by the root user: This is a special system account meant for use in
modifying and administering the system, so it (or somebody logged in as this
root user) can change permissions, read, write, and modify nearly any file.
Let's say that we've decided that perm-example.txt is an incredibly important
file for the functioning of your computer, and we therefore want to make it
accessible only to the specially-privileged root user. This requires two new
commands: chown, and sudo.
$ sudo chown root:root perm-example.txt
$ ls -l perm-example.txt
-rw-------. 1 root root 5 Feb  6 09:18 perm-example.txt
sudo will probably give you a very scary prompt and ask for for your password.
Once you confirm that you are indeed the user you're logged in as, sudo will
pretend you're root to run the real command, which is chown root:root perm-example.txt. As the name suggests, this changes ownership of the
file perm-example.txt to be owned by the root user and the root group, and, as
we can see from the output of ls -l, only root can read and write.
Once you decide you no longer need this file, you can remove it, but only as the
root user. So, you'll have to use sudo again:
$ sudo rm perm-example.txt
caution
The note before about being careful with rm goes double for sudo rm. If you make a mistake, you can use this command to really break some things.
With this and some practice, you're well on your way to being comfortable on the command line. Next up are some topics in configuration before covering a small amount about scripting.
Useful Commands
The command line can make it fairly difficult to discover new tools. If you're going to know that anything exists, you have to read about it somewhere. What follows, then, is a list for your reference of a whole bunch of things you may want to refer to.
Unless otherwise noted, these commands work in roughly the same way. They take
some input from a file specified as a command line argument, perform some
operation, and output the result to the console. If you're ever unsure how a
specific command works, try running it with -h to get a help message. If that
doesn't work, try --help. If that doesn't work, see the section on getting
help.
Once you're done familiarizing yourself with the essentials, go on to learn some scripting techniques.
Essentials
| Command | Description |
|---|---|
cd | Change the current working directory. |
ls | List the files in the current working directory. You can also give it a target directory to list from, e.g., ls ./example. |
ls -l | List the files in the current working directory, but with a little more information. |
cat | Concatenate files, or, with one argument, print a file to the console. |
head | Get the first couple lines of a file. |
tail | Get the last couple lines of a file. |
grep <pattern> <file> | Output all lines in file that contain <pattern> |
Some Stuff More
You'll run these less often, but it can still be good to know they exist.
| Command | Description |
|---|---|
tail -f | Watch a file and output new lines as they're written to it. This can be useful for things like logs that are written to by another process over time. |
wc -l | Count the number of lines in stdin or from a file. |
wc -c | Count the number of characters in stdin or from a file. |
wc -w | Count the number of words in stdin or from a file. |
Some Options
A lot of the above commands are very old (cat, e.g., descends from 1971), and
therefore has some characteristics you may or may not like. These are really
beyond the scope of the basics here, but if you find yourself curious, there are
some potentially preferable replacements for the old tools if you're looking to
play around a bit:
| Command | Replacement |
|---|---|
cat | bat |
cd | zoxide |
find | fd |
grep | ripgrep |
ls | eza |
nano | micro |
Scripting
The first and most important rule for writing Bash scripts is that you shouldn't. However, some concepts of Bash scripts matter a lot in most any interaction with the shell. Let's start simple by describing variables:
$ echo $HOME
/home/atalii
$ echo $PATH
"/bin:/sbin:/usr/bin:/usr/local/bin:...
Here, you've asked Bash to give you the values of two variables, $HOME, and
$PATH. You might recognize $HOME as the path of your home directory (it's
what'll show up if you run pwd in a new terminal), but $PATH is new: Instead
of being one path, it's actually a : separated list of paths. You probably see
the string bin in here quite a bit: This is because PATH lists the locations
of certain kinds of binary files, or, as you may already know them, executables.
For instance, you can run:
$ which cat
/usr/bin/cat
and you'll see that the cat command is actually a file located in /usr/bin.
Check the output of the echo command above, and you'll likely see that
/usr/bin is in your $PATH.
note
Some systems will have cat at /bin/cat, or maybe /sbin/cat. If your
output is slightly different, that's okay. The same principle applies.
Were $PATH just a static list of paths, it wouldn't be so useful. However, you
can put whatever directory you want in there.
We'll demonstrate this by creating a command of our own. Using a text editor of
your choice, make a file in your home directory named foo.sh with the
following contents:
#!/usr/bin/env bash

echo foo
The line that begins with a #! is called a shebang, and tells the
operating system that it can run this script with bash. Now, make it executable:
$ chmod +x home.sh
If this command succeeds (and it should!), you'll be able to run it:
$ ./foo.sh
foo
Note that we're referring to the file by qualifying its path with that of the
current directory. We can't just use foo.sh without the ./, otherwise Bash
won't know that this is a file in the current directory. Instead, it'll look
through $PATH, find nothing named foo.sh, and complain:
$ foo.sh
bash: foo.sh: command not found
However, we can set $PATH to include the directory in which foo.sh lives, and
thereby let Bash run it just like any other command.
$ export PATH="$PATH:$HOME"
$ foo.sh
foo
The first command here is the one that does the work. It sets the $PATH
variable equal to the value of $PATH followed by a colon, in turn followed by
the value of $HOME, thus adding $HOME to list. Now, you can run every
executable in your home directory just like anything else.
warning
Adding your $HOME directory to $PATH would make a lot of people angry and
be widely regarded as a bad move. Part of the concern is security: While it
takes elevated permissions to put an executable in /bin, /usr/bin, or the
like, you only need your permission to put something in $HOME: If your user
is compromised, or you download a suspicious file and put it in $HOME for
later, you might end up running something malicious on accident.
More practically, though, it's just regarded as kind of a messy practice.
Binaries are best off being put in places well-marked for them: e.g., /bin.
If you don't like this: Don't worry, your changes above only matter in your current shell session: Close your terminal or open a new one and your path will be back to normal.
Regardless, there are some nuances in the command above to examine. Start by creating a dummy variable to experiment with:
$ export FOO="bar"
If you're really enthusiastic about foo, you might even want two of them:
$ echo "$FOO $FOO"
bar bar
This is basically the same kind of concatenation operation we did with $PATH,
but notice the following doesn't work:
$ echo '$FOO $FOO'
$FOO $FOO
Like with comments, you can use single quotes to avoid interpolating
variables. In double quotes, Bash will read $ as letting it know that the
following characters are the name of a variable: In single quotes, however, $
is just another character.
note
By convention, variables in Bash are written in UPPER_CASE.
For some reason, let's say you really like $FOO and want to save it:
$ export MY_FAV_VAR="My favorite variable is: $FOO."
$ echo "$MY_FAV_VAR"
My favorite variable is: bar
Note that the kind of interpolation bash does is very flexible: Wherever double quotes can appear, you can use and manipulate variables.
Scripting in Bash is a very finnicky topic: Variables are really just the tip of
the iceberg. Much like many other programming languages, you can use loops,
functions, and conditional statements. For an example of some more involved
scripting, check out a hidden file in your home directory called ~/.bashrc:
This is run every time you open your shell, and is usually populated with some
interesting knobs you can turn by editing the file and opening a new shell (or
by sourcing ~/.bashrc with the . command).
Ideally, you're now comfortable in the shell and have a good grasp of the kinds of things it can do: If not, don't worry! As always throughout this guide, experience is the best way to learn. Everything will become easier with repetition, practice, and conversations with other computer-touchers. Enjoy!
SSH
SSH, being an initialism for Secure SHell, is a set of programs and protocols that allow a user to access a shell on a remote device.
note
Throughout this guide, we'll use an example machine named Empanada, which is available by email request to CSTAR for Reed students.
As a protocol, SSH is a standardized method for two computers to communicate with each other. One computer, an SSH server, allows clients to authenticate themselves and, once authenticated, run commands on the server. Unless you're setting up a machine, you'll usually interact with this protocol from the perspective of the client, so that's what we'll cover here. The usual SSH flow will look something like below, where I log in to one of the Reed computers from my own laptop:
atali@my-laptop:~$ hostname
my-laptop
atali@my-laptop:~$ ssh atali@empanada.reed.edu
atali@empanada:~$ hostname
empanada
atali@empanada:~$ exit # or press Ctrl+D
atali@my-laptop:~$ hostname
my-laptop
note
Some things here, like my hostname, are specific to my computer. Others,
like, empanada.reed.edu, are only accessible on the Reed network. If you'd
like to follow along, send an email to CSTAR to get access to some
machines.
Notice a new command: hostname tells you the name of the device your shell is
running in. Every machine is given one of these names, and it's helpful to have
a human-recognizable identifier for each computer. Then, the second new
command, ssh, logs in to empanada.reed.edu as the user atali and opens up
a shell. Once we're in the shell, we can see that this machine's hostname is
empanada, and we run the exit command to close this shell and get back into
the client. We then confirm that we're there with one last invocation of the
hostname command.
Setting This up for Yourself
note
We recommend following along to get some practical experience. Contact CSTAR for access to some machines with an SSH server enabled.
Once an SSH server is aware of your existence, there are actually many ways to authenticate to it. You'll probably only come across the two most common ones, however:
- Password-based authentication.
- Key-based authentication.
These both work about as you'd expect. If the server is configured to accept password-based auth (and some other requirements are met), SSH will prompt you for your password:
atali@my-laptop:~$ ssh atali@empanada.reed.edu
atali@empanada.reed.edu's password:
atali@empanada:~$ # We're logged in!
When you type in your password, nothing will appear on screen. Once you've typed it correctly, pressing enter sends it off to the server to be checked, and, if correct, you'll find yourself logged in.
Despite being simple, password-based authentication is generally not preferred to key-based authentication. This authentication method revolves around a key pair that you generate on your own device. This consists of a public key and a private key — you keep the private key secret, but the server gets your public key. Via some witchcraft, if another party has your public key, they can confirm that you know your private key without ever knowing what that private key precisely is. This is unfortunately a slightly more involved process to set up, but leads to a more convenient and secure SSH login process later.
We'll start by creating a keypair. On your SSH client machine, run ssh-keygen
$ ssh-keygen
Generating public/private ed25519 key pair.
Enter passphrase for "id_ed25519" (empty for no passphrase):
Enter same passphrase again:
Your identification has been saved in id_ed25519
Your public key has been saved in id_ed25519.pub
The key fingerprint is:
SHA256:QtXVxq6HOFptCucsULsI2bH3Tp0t4Xj6MO0BeThtfQI tali@thing-in-itself
The key's randomart image is:
+--[ED25519 256]--+
|        .. ..o   |
|       .  .   +  |
|      .     Eo   |
|     .. .  + o.  |
|     o.+S.=o=oo .|
|    o +.+ =X=+.o |
|     . + X=+O..  |
|      . +.=* o   |
|         oo.o    |
+----[SHA256]-----+
Fortunately, you only have to make one decision, and that's whether to protect
your private key with a password. In some circumstances, you may prefer this,
but it's also acceptable to leave it blank. Then, it gives you some
information about your key. Pay particularly close attention to the fact that
two new files have been created: id_ed25519 and id_ed25519.pub.
id_ed25519 is your private key, and id_ed25519 is your public key. This
information is enough to set up key-based SSH authentication:
atali@my-laptop:~$ cat ~/.ssh/id_ed25519.pub
ssh-ed25519 AAAAC3NzaC1lZDI1NTE5AAAAIMPdyjTGPE4WBxR75SJrOHs60flkRqJIyiNr7GNC8OcV atali@my-laptop
atali@my-laptop:~$ ssh atali@empanada.reed.edu
atali@empanada.reed.edu's password:
atali@empanada:~$ echo 'ssh-ed25519 AAAAC3NzaC1lZDI1NTE5AAAAIMPdyjTGPE4WBxR75SJrOHs60flkRqJIyiNr7GNC8OcV tali@thing-in-itself' >> ~/.ssh/authorized_keys
atali@empanada:~$ exit
atali@my-laptop:~$ ssh atali@empanada.reed.edu
atali@empanada:~$ # Notice how you haven't been asked for a password: SSH is automatically using your key!
All you're doing is adding your SSH public key to a file of authorized keys, which the SSH server can scan to let you in.
If this is confusing, don't worry. The best way to understand this is to do it. If you want practice, email CSTAR for access to our machines.
FTP
FTP (an initialism of File Transfer Protocol) can be used to send files between computers.
FTP requires that the person or computer that you're meaning to send files to
is running an FTP server. For an example of such a case, consider
people.reed.edu. The remainder of this guide assumes that you have a file named
index.html in the current working directory that you'd like to upload to people.reed.edu to set up your website.
Using FTP on Linux and MacOS
You have an FTP client built in. Connect to a server over SFTP (the "S" stands for "Secure") like in the following:
$ sftp <your-username>@people.reed.edu
<your-username>@sftp.reed.edu's password:
After logging in with your usual credentials, you get a stripped down command
prompt. You can use ls and pwd to get your bearings:
Connected to sftp.reed.edu.
sftp> ls
html
sftp> pwd
Remote working directory: /reed.edu/home/y/o/your-username
cd works as per usual, e.g.:
> cd html
sftp> pwd
Remote working directory: /reed.edu/home/y/o/your-username/html
Now, you have a few extra commands: get will download files, and put will upload them. If you have a file named index.html,
> put index.html
will upload it to the server.
Using FTP on Windows
This section is TODO.
Nix Cheatsheet
You can use Nix to install additional software anywhere Nix itself is installed.
-
To search for a package:
$ nix search nixpkgs hello * legacyPackages.x86_64-linux.hello (2.12.1) A program that produces a familiar, friendly greeting -
To install a package:
$ nix profile install nixpkgs#hello -
To start a temporary shell without installing a package:
$ nix shell nixpkgs#hello $ hello Hello, world! -
To list installed packages:
$ nix profile list Index: 0 Flake attribute: legacyPackages.x86_64-linux.hello Original flake URL: flake:nixpkgs Locked flake URL: github:NixOS/nixpkgs/2646b294a146df2781b1ca49092450e8a32814e1 Store paths: /nix/store/z6hzxgy21zimj58xhy06f2f49qgy06gg-hello-2.12.1 -
To uninstall a package by index:
nix profile remove 0
removing 'flake:nixpkgs#legacyPackages.x86_64-linux.hello'
For more information about Nix, you can look at Zero to Nix.
note
This section is TODO.
Writing Code
This section covers some more mechanical issues with writing code. How is code stored? How is it executed? How do you edit it? These questions are the frustrating, tooling-immersed bretheren of the more interesting questions you'll study in your classes, but, nevertheless, they demand answering. If you've written a good amount of code before, nothing here should be surprising. If you haven't, this can serve as a reference and also a brief explanation on the more mundane steps involved in that thing we call computer programming.
Certain concepts are universal to most programming languages — these concepts are specified further in this chapter — but certain languages demand specific toolchains to run code written in those languages. The language you're using largely depends on the class you're taking. Feel free to follow the links as appropriate or simply explore:
- 121 is taught with Python.
- 221 is taught with C, C++, and Assembly.
- You will encounter other toolchains; e.g., Jupyter notebooks for Deep Learning, JS (or possibly TypeScript soon!) for graphics, and OCaml for Programming Languages. If you have toolchain questions, let us know.
Git
Git is a version control system. This allows you to access multiple versions of the same directory on one disk. Git is immensely powerful, but this page will only cover the basics. If you're looking for a more in-depth reference, Julia Evans wrote a very good introduction, which you can also find in Erica's office.
Getting Started With Git
If you want to use version control on your own machine (e.g. a coding project
or homework), you can create a repository, or a collection of files that
git is able to keep track of and version. There are two relevant ways to
create a repository: Either you're workin with something that somebody's
already made, or you're starting an empty repository. In this first case,
you'll use git clone, and in the second, you'll use git init.
As an example of the first, you can get the sources for this book with this:
$ git clone https://github.com/reed-cstar/guides

Cloning into 'guides'...
remote: Enumerating objects: 211, done.
remote: Counting objects: 100% (118/118), done.
remote: Compressing objects: 100% (88/88), done.
remote: Total 211 (delta 54), reused 77 (delta 30), pack-reused 93 (from 1)
Receiving objects: 100% (211/211), 632.06 KiB | 11.92 MiB/s, done.
Resolving deltas: 100% (82/82), done.
If you made changes to a repository, and you would like to track and version them, you can make a commit. A commit is the unit by which Git records changes made to some files. Alongside the content of those changes (including creations, deletions, and modifications), it also records the author, the date, and also some optional further metadata regarding the changes.
Before you start committing code, you'll need to tell git who you are.
Git provides a clear interface for this with the config subcommand. Try
the following, replacing the quoted vale Your Name with your name, and
your.email@example.com with your email:
$ git config --global user.name 'Your Name'
$ git config --global user.email 'your.email@example.com'
Note the use of the --global flag: This instructs git to store a default
value for these settings across all repositores. If you leave it out, git
will associate your name and email only with the repository in your current
working directory, and future invocations of git will use this value to
override any global value that may or may not be set.
Now that git is sufficiently configured and you're in a repository, you can make some changes to the files and add them to the staging area with the add subcommand:
$ git add ./path/to/modified/files
note
You'll often see git add .: If run from the root of your repository,
this'll add all changes to the staging area.
With your changes added, the commit subcommand will allow you to add them to version control:
$ git commit
note
If you aren't currently in in a repository, git commit will tell you with
the only moderately cryptic error message:
fatal: not a git repository (or any of the parent directories): .git
You'll see that git brings up a text editor wherein you can write a
commit message. Most likely, this'll be a text editor called nano — git
will run whatever command you specify in the $VISUAL environment variable.
Regardless, writing some text, saving it, and exiting (via
Ctrl+x in Nano) will be enough to create a commit, and you'll be dropped back in your shell.
Reed CS Resources
You have access to many tools, like your own Reed website, compute resources, and access to Polytopia (located in LIB387). If you have any questions about any of these resources, feel free to email CSTAR: it's harder to look up any Reed resources than anything else in this guide.
Machines
Reed provides some machines for you to use. Some of these can be accessed in person, but others are best accessed over ssh.
note
To get access to all of these machines, email CSTAR.
These machines all run Ubuntu with Nix installed for user package management.
note
Don't know what this means? Don't worry. We'll deal with it later.
Peggy, Patty, and Polly
Peggy is in the corner of Polytopia and runs Ubuntu. You can
also access it from the Reed college Wi-fi over ssh at peggy.reed.edu.
Polly and Patty are in Jim's office, and can be accessed solely by ssh over
the Reed college Wi-fi at polly.reed.edu and patty.reed.edu,
respectively. Patty in particular is useful when you're in need of some extra
compute power.
The Dumplings
Banku, Empanada, Gyoza, and Pierogi are iMacs running Ubuntu available for
use in Polytopia. These are available at banku.reed.edu,
empanada.reed.edu, gyoza.reed.edu, and pierogi.reed.edu over the Reed
Wi-fi.
Accounts
At Reed's instruction, your username is fixed at account creation to be your Kerberos username. Then, your password is set on Polly and copied out to everywhere else. Don't try to change your password on other machines; always SSH into Polly or use the web app.
Graduation
After you graduate, we'll delete your account, including any data that you may have.
Spring class of 2025: We've already deleted your accounts, but your home directories are still around. Send an email if you want me an archive of them.
Fall class of 2025 and onwards: We'll send you your home directories as a tarball via email. Then, we'll delete everything. If you've got any additional last wishes, just send an email.
Services
We self-host some services that you can use.
Coder
Coder is a web app that provides access to development environments running in Docker containers. This can be a convenient way to set up an environment for some specialized tasks. It runs physically on Patty, so it's got access to a good amount of compute. In particular, there's a pre-existing template you can use to make a container for CUDA development if you're having issues on your own machine or if you don't have an Nvidia GPU.
More detailed instructions on general use and configuring CUDA will be available here soon. If you have a question or what some guidance right now, send an email.
Authentication
These services are all accessed via an SSO login distinct from your normal Reed credentials. You can test your login (from a device on the Reed network) by logging into Polly over the web. Your username and password for this SSO system is the same as that which you'd use to log in to Polly over SSH. You can change your credentials here.
Administration
Procedures
note
This page is meant primarily for CSTAR members administering these machines.
Adding Accounts
Accounts are stored in a secret YAML file generated with a half-secret Python
script. Add the user to the secret list of users in genUsersConf.py. (If
setting up in person, you can ask the user for an initial password they'd
prefer. Otherwise, the default is changeme.) Run this script (it'll import
the public users.py file), and redirect the output to the secret
users.yaml. Then, run the applicable playbook:
ansible-playbook -k -K -u polytopia -i inventory.yaml playbooks/users.yaml.
Verify that the playbook worked as intended by SSH'ing into Polly. Updates to the rest of the systems may take a few minutes.
Authentication Mechanisms
We are not able to tie into Kerberos for a 'proper' SSO. Instead, we run a combination of two mechanisms, both on Polly, to make sure that everything stays in sync and that users don't need to change their password on 7+ machines.
Authelia
Authelia is our OIDC provider. With minimal extra configuration, it can also run as part of a reverse proxy to provide authentication to web services which don't have OAuth/OIDC support. Authelia has a few other mechanisms available for serving auth, and should be able to integrate with most services.
It runs on Polly and keeps a list of users from a users.yml file which is
autogenerated from /etc/shadow.
shadow-syncd
shadow-syncd is the name of a small Python script that runs on Polly and
propagates all changes in /etc/shadow to the other machines. This keeps SSH
and physical logins consistent without the complication of PAM for LDAP, OIDC,
or anything of the sort.
Adding a New Machine
If the machine is owned by Reed (it should have an asset number and barcode; ask CUS in unclear cases), it needs to have an admin (sudo-capabale) account named for cus and for reedadmin. Additionally, it'll need to have Crowdstrike installed, so it should be running Ubuntu.
To set it up, make sure the MAC address isn't being blocked (i.e., that it has
internet access over Ethernet). If there are problems here, the issue should be
brought to CUS. Install Ubuntu and set up the polytopia admin account. Email
CUS to ask them to set up their admin accounts and Crowdstrike. Then, add it to
the inventory.yaml file and run any applicable Ansible playbooks.
If, on the other hand, the machine is not Reed-owned (e.g., Quail), CUS asks
us to have it set up individually on Netreg. That is, you're meant to set it up
in netreg as your own individual device. Then, you should install either NixOS
or Ubuntu,1 set up the polytopia admin account, and get it set up with Ansible
as per usual.
Updating the Machines
Major version updates will happen during school breaks. Minor updates (apt up{date,grade} and such, as well as nix upgrade-nix) are applied weekly,
with possible downtime if a service requires a restart. Reboot any machine if
its kernel is updated.
Monitoring
Quatsch runs Prometheus and scrapes the node-exporter running on itself and
the other machines. No Grafana or equivalent is currently configured, though
you can use Prometheus' built-in web server for simple visualization and manual
PromQL querying.
-
The account mechanisms as of now rely on a writable
/etc. In particular, since Polly tries to copy its shadow into other machines, a NixOS machine meant to be accessed by all CSTAR-registered users will require some special treatment. My (Tali's) suggestion is to reserve personal machines for servers that don't require SSH access by individuals, where we can get away just with a Polytopia admin account. ↩
people.reed.edu
people.reed.edu provides static web hosting for Reed students and faculty. Check some faculty websites for examples of how it can be used:
- Jim has a pesronal website with some class materials.
- David hosts the 113 textbook.
You can edit and access people.reed.edu via FTP. You can
connect with your Reed ID and usual (Kerberos) password1, and,
assuming that your Reed username is your-username, your website will be
located in /home/y/o/your-username/html. If you put an index.html file,
it'll show up at https://people.reed.edu/~your-username (note the prefixing
tilde!).
-
See also CUS's info page. ↩